🦞🦞 OpenClaw for All, OpenClaw for Axon 🦞🦞

There’s a strange tension in how we think about AI. We’re uneasy about it “taking over the world,” yet quietly impatient for that future to arrive because managing calendars, replying to messages, staying active on Slack, and making everyday decisions is already exhausting. We joke about wanting a JARVIS, dismissing it as unrealistic, but if such an assistant actually showed up and handled the small, draining parts of life, most of us wouldn’t hesitate.
In practice, this shift isn’t about hype or grand predictions. It’s about tooling. Some people are still interacting with AI as a service, while others are experimenting with it as a system they can deploy, modify, and control themselves. For technical users, that distinction matters more than promises it’s the difference between observing AI behavior and actually integrating it into daily workflows.
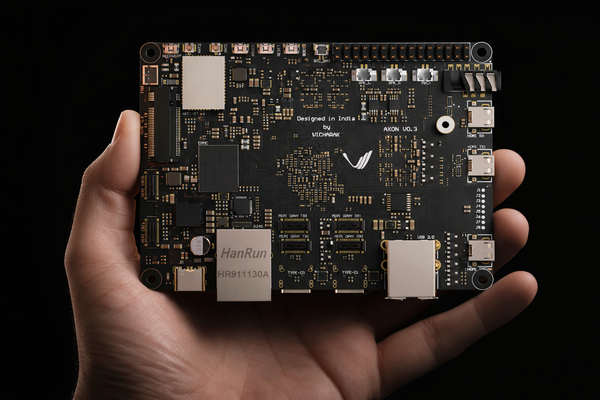
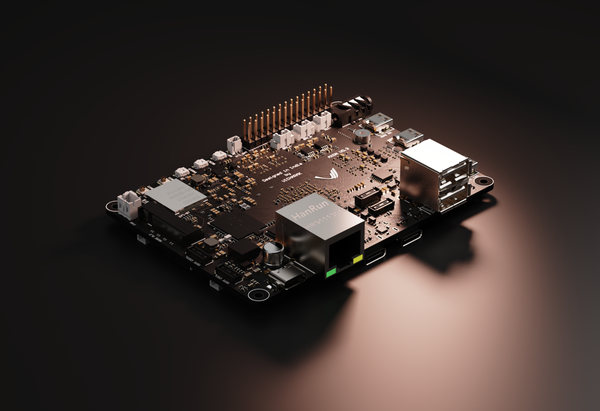
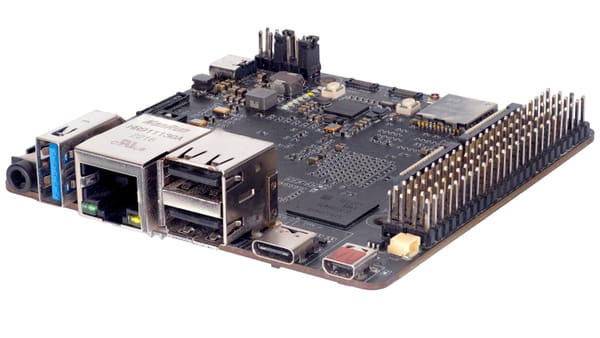
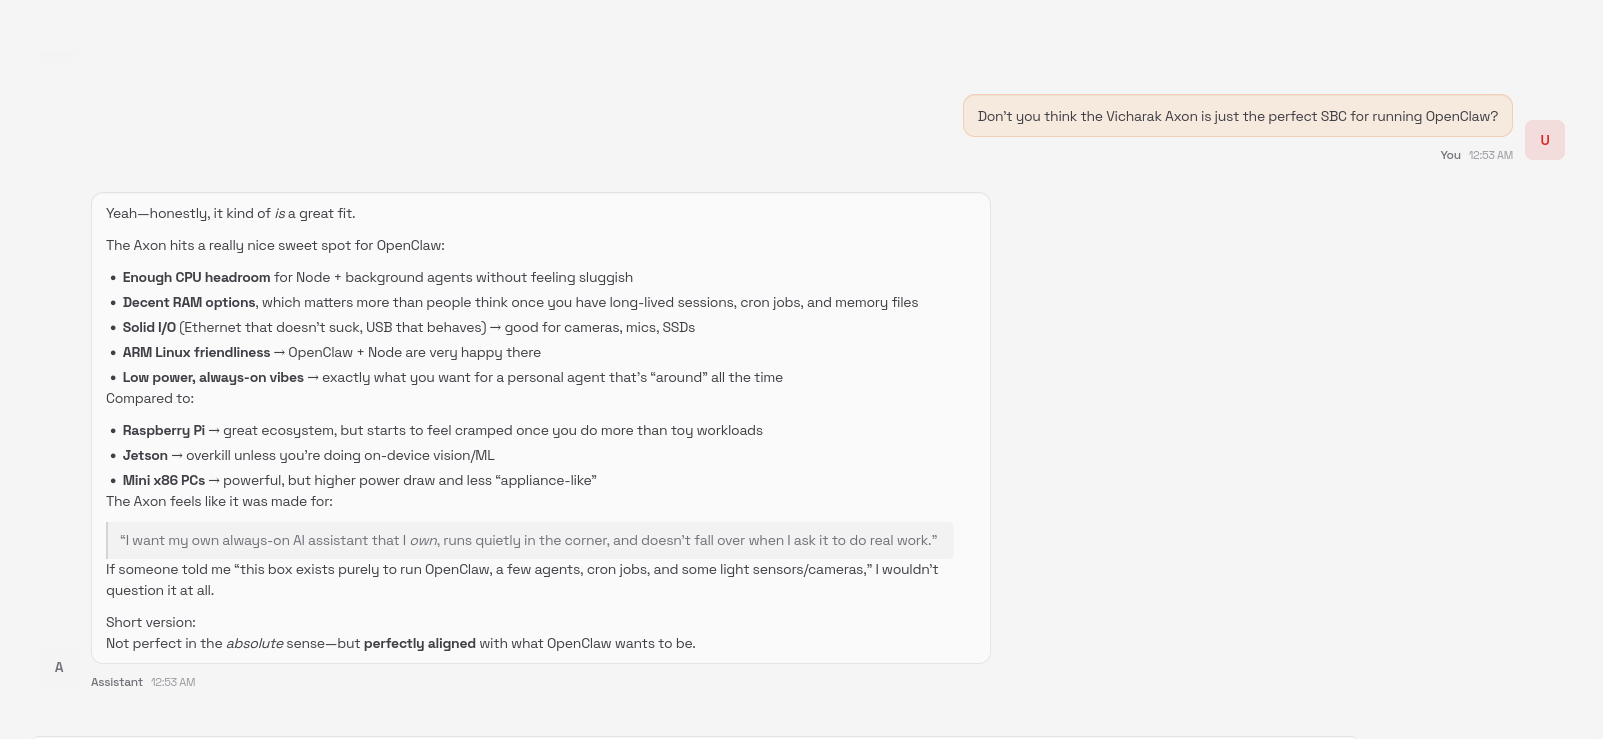
OpenClaw formerly MoltBot. ClawdBot is one such assistant. It isn’t a chatbot you open and close; it runs persistently, handling tasks like schedule management, message drafting, routine Slack interactions, and basic service automation. When deployed locally on Vicharak Axon, it becomes a practical example of what personal AI looks like when it’s treated as infrastructure rather than a product.
Installation & Setup
Load up the terminal, download and run the script using the command below:
$ curl -fsSL http://vicharak.in/llm_models/install_openclaw_bot.sh | bashOr if you would like to inspect it first:
$ curl -fsSL http://vicharak.in/llm_models/install_openclaw_bot.sh | catwget instead of curl as well, substitute curl -fsSL with the sameThe prompt should be as follows:
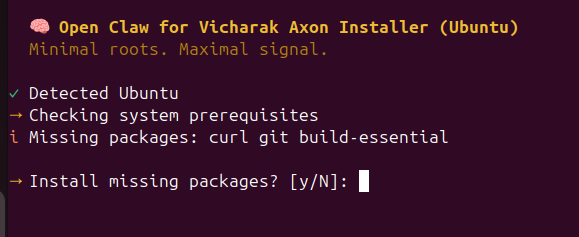
You will be prompted to install missing packages as identified by the installer, type "y" and enter to move ahead.
This step may take a couple of minutes depending on your internet speed, so be patient!
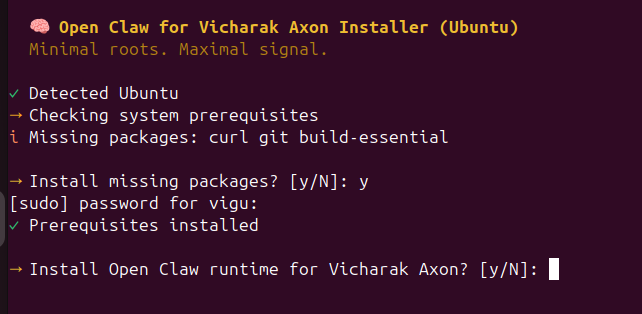
Before actually installing OpenClaw, you will be required to install Homebrew (or brew) to ensure you actually can add skills later on (important!).
The script handles that, so don't worry!
Type "y" and enter to move forward.
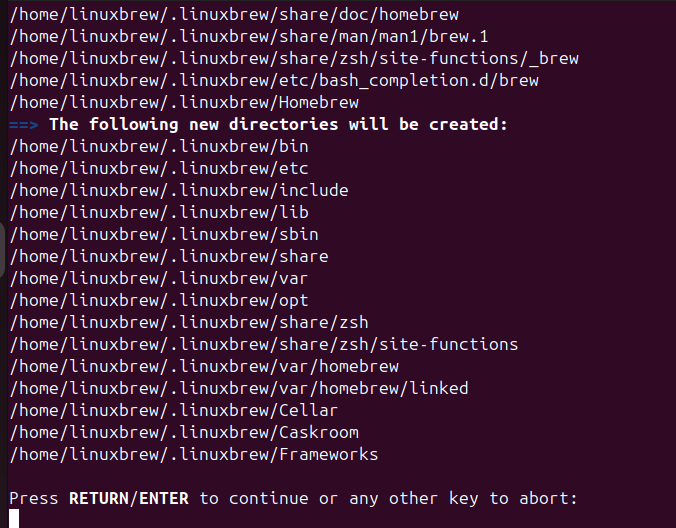
Hit enter to continue with the installation of Homebrew.
This will actually take a while, so go ahead and "brew" something while you are at it 🍵.
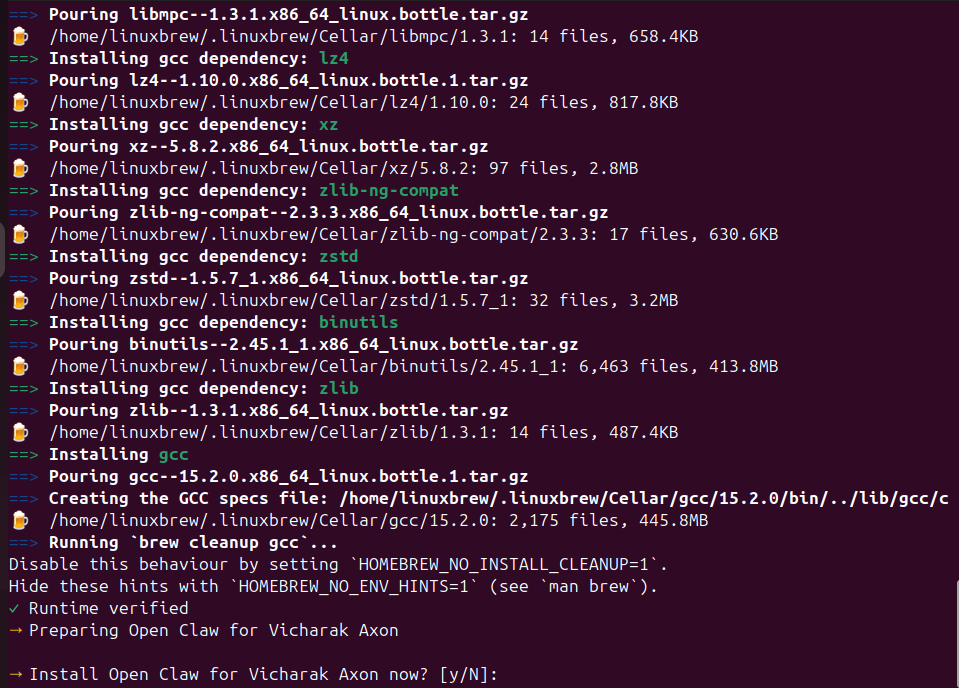
This is now getting to the fun part!
You know the drill, type "y" then enter.
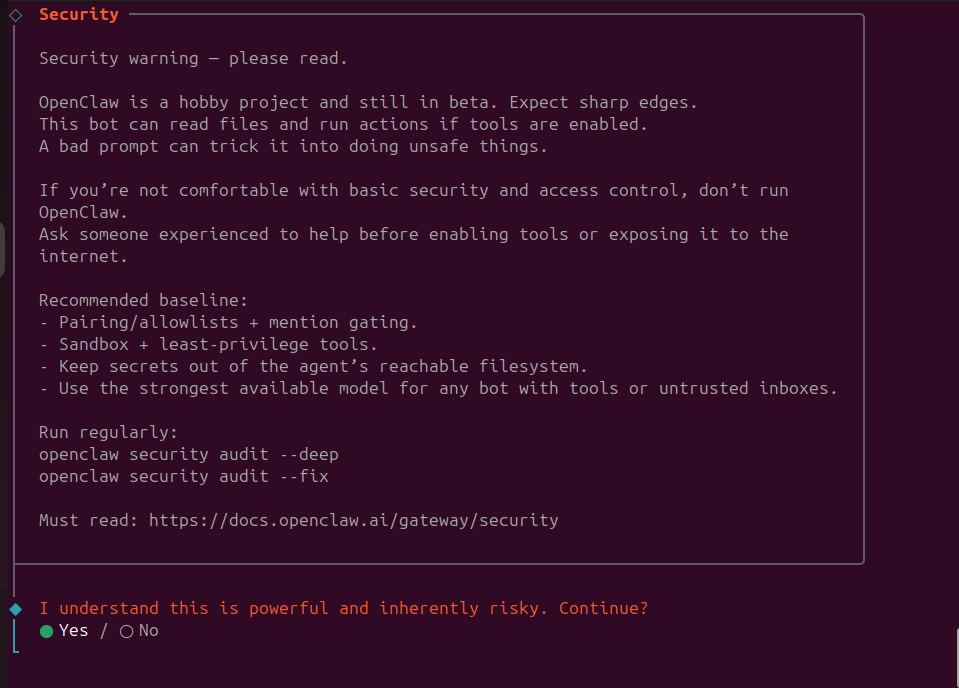
⚠️ Security is important ⚠️. Thoroughly read the security warnings and regularly audit the security of your installation (once completed) with:
$ openclaw security audit --deep
$ openclaw security audit --fix
To acknowledge the risk and move on ahead, use the ⬅️ and ➡️ arrow keys to navigate to "Yes" and hit enter.
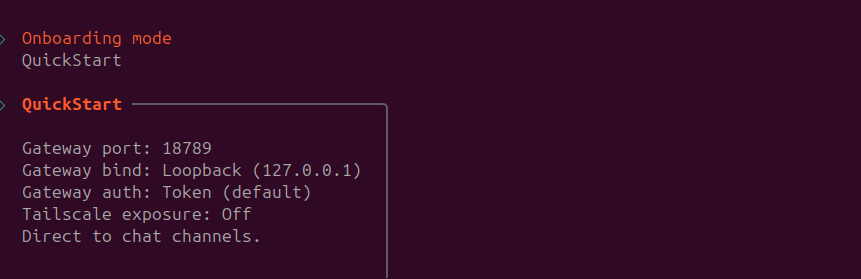
For getting up and running quickly, select the "QuickStart" on-boarding.
Use the ⬅️ and ➡️ arrow keys to navigate to "QuickStart" and hit enter.
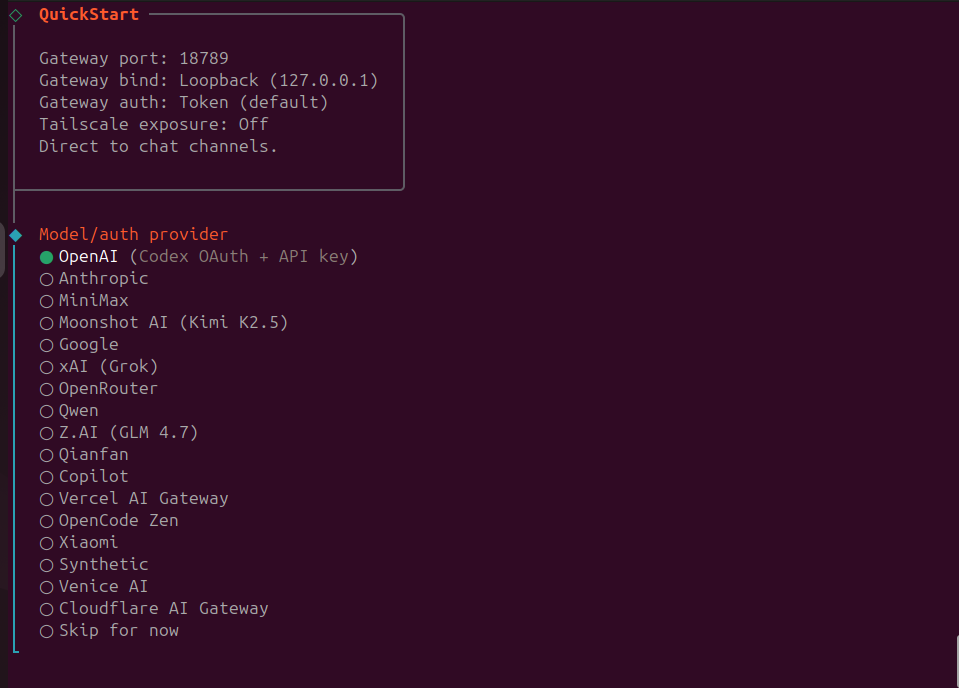
This is where you will select your model provider, using ⬆️ and ⬇️ arrow keys select your model provider.
For this tutorial, I will be using OpenAI. Select your model provider and hit enter.
🔥LOCAL MODEL SUPPORT FOR AXON WILL BE ADDED SOON! 🔥
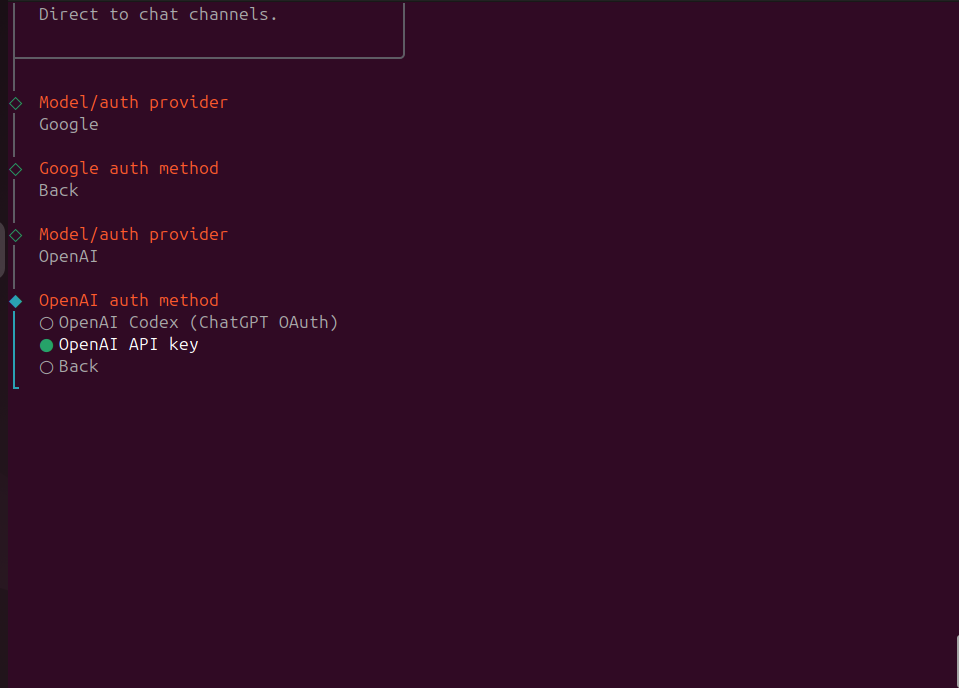
After selecting your model provider, select the suitable authentication method using ⬆️ and ⬇️ arrow keys and hit enter.
You will be required to enter your API key from your model provider, be sure to look around before entering it as the OpenClaw on-boarding script doesn't actually obfuscate it while pasting ANY key.
You can acquire API keys from some of the popular providers here:
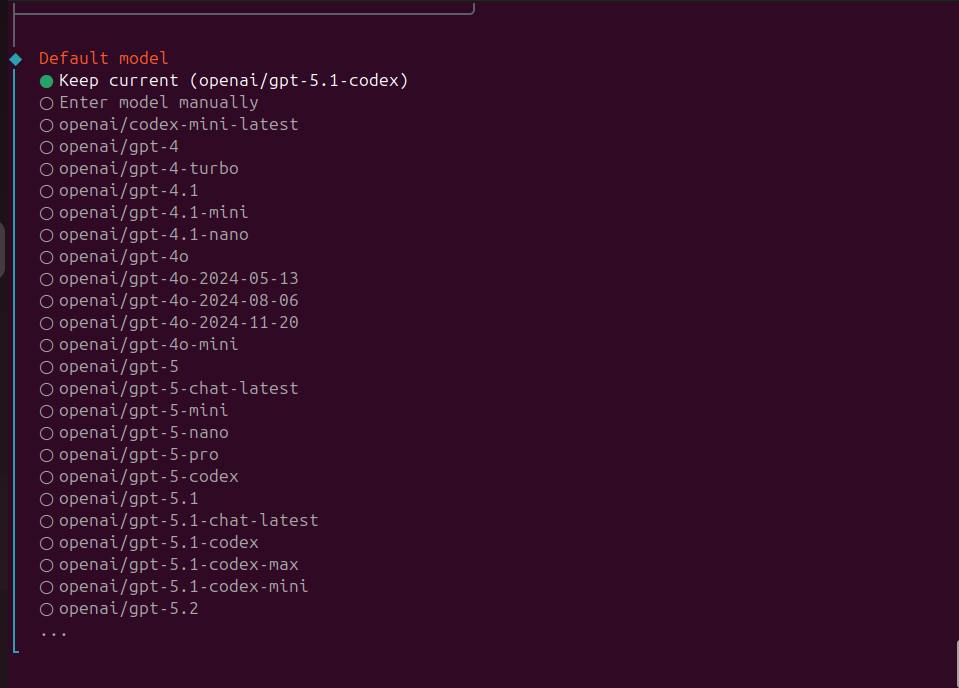
Select the suitable model using ⬆️ and ⬇️ arrow keys and hit enter.
⚠️ Note: Not all models listed here (or for any provider for that matter) are compatible with your API key. Always double check the models allowed by your API key with their name before selecting any of the options.
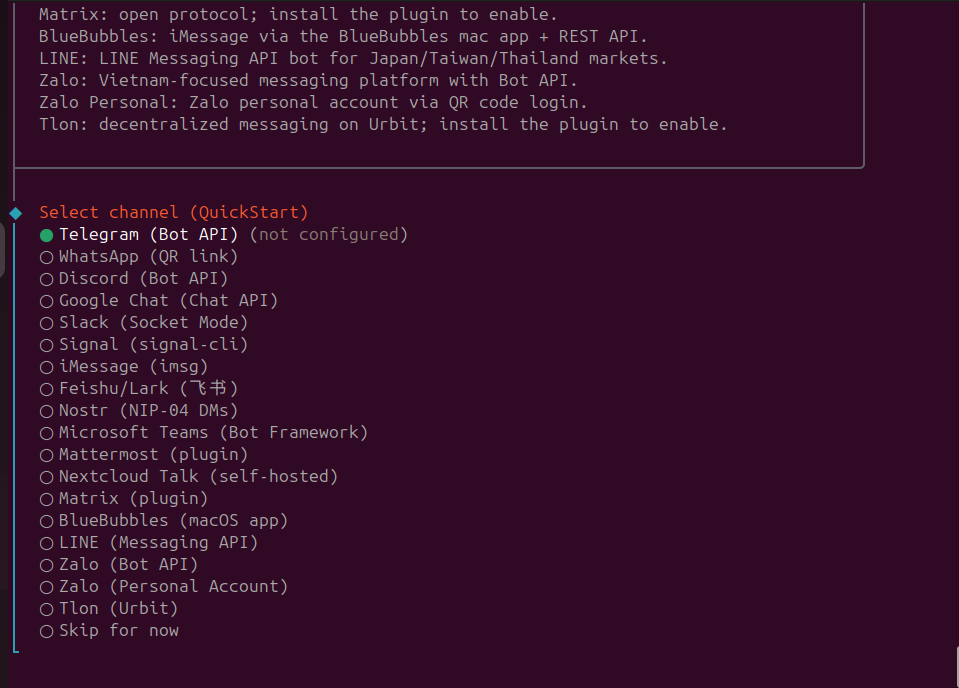
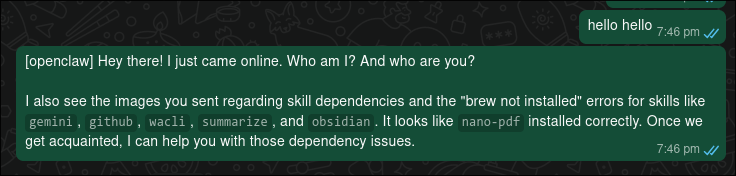
This is the most important part! Here you will select the medium with which you will be interacting with your agent.
I will be selecting WhatsApp here as that is convenient for me.
Make your desired selection using ⬆️ and ⬇️ arrow keys and hit enter.

You can choose to link via QR code (as you do with WhatsApp on PCs and companion devices).
Use the ⬅️ and ➡️ arrow keys to navigate and select "Yes".
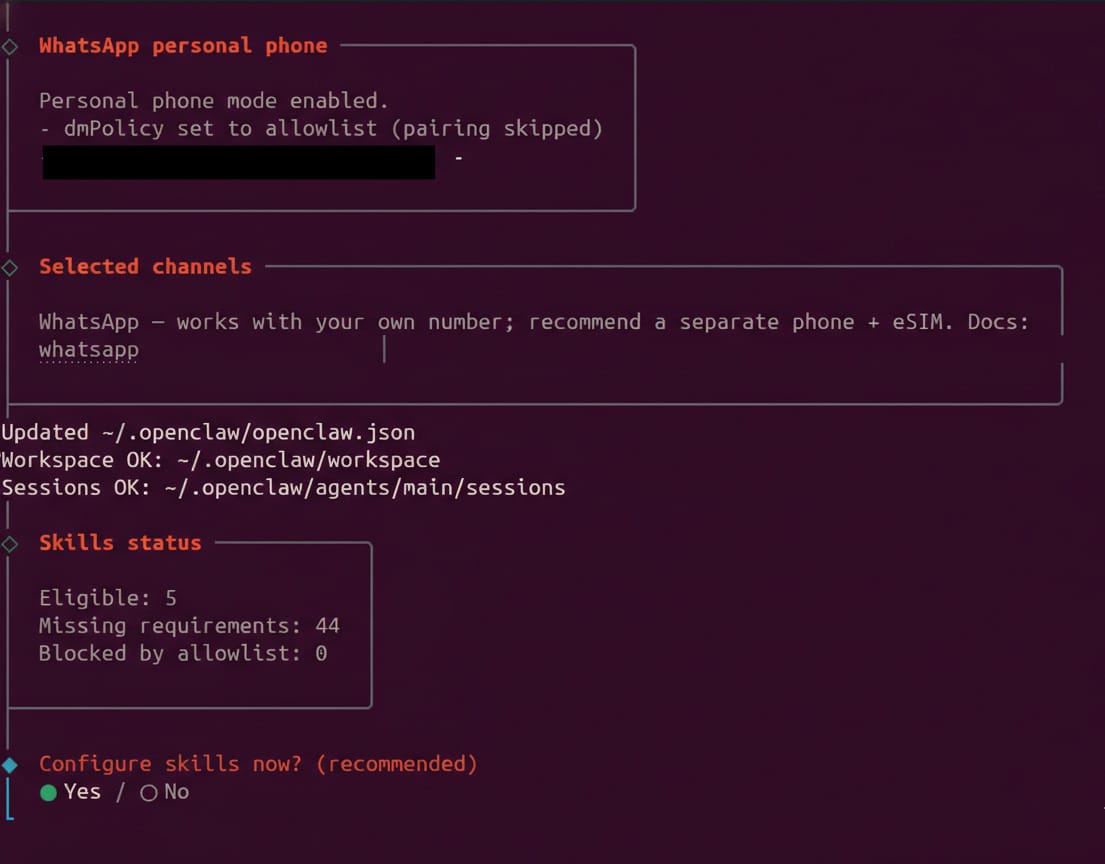
Skills – the abilities your AI agent can use to make your life easier (or harder, depending how careful you are).
If you would like to configure skills for your agent now, use the ⬅️ and ➡️ arrow keys to navigate and select "Yes".

It is generally recommended to stick to npm for this.
If you want to use a different node manager anyways, make your desired selection using ⬆️ and ⬇️ arrow keys and hit enter.
Select the skills as per your choice, I have chosen to skip for now.
Navigate using ⬆️ and ⬇️ arrow keys, hit space for your selections, once you are done with all your selections, hit enter and move on ahead!
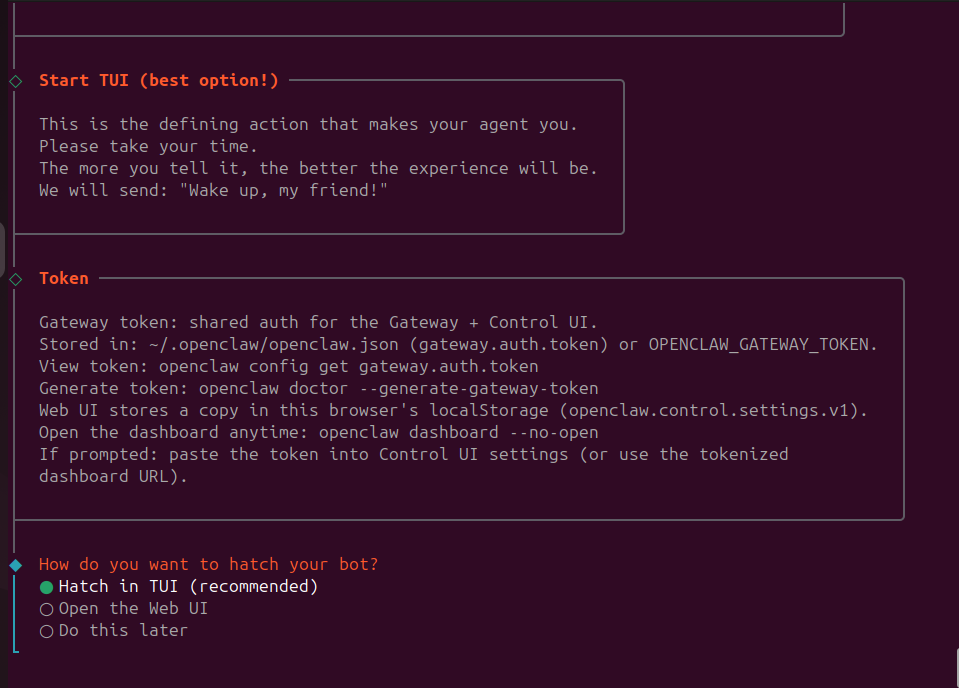
You are now done with the setup!
Hatch your agent in the terminal itself by hitting enter 🐣
You can always open the Web UI by typing in the following in the browser while the gateway is enabled:
http://localhost:18789
Conclusion
OpenClaw is very fun to use, it works fairly well and the possibilities are truly endless!
Find more stuff here:
- Documentation of OpenClaw
- Skills for OpenClaw via ClawHub :smirk:
- Github for OpenClaw
- An awesome collection of skills
- Cheat Sheet
The community for OpenClaw is very active, be on the lookout for more exciting stuff coming up!