Running YOLOv8 & YOLO11 Object Detection on the Vicharak Axon: A Complete Guide
If you've ever tried running a state-of-the-art object detection model on an edge device, you know the feeling. You start with excitement, "This will be amazing!", then hit a wall of incompatible frameworks, cryptic errors, and models that just won't cooperate with your hardware.
We went through all of that so you don't have to.
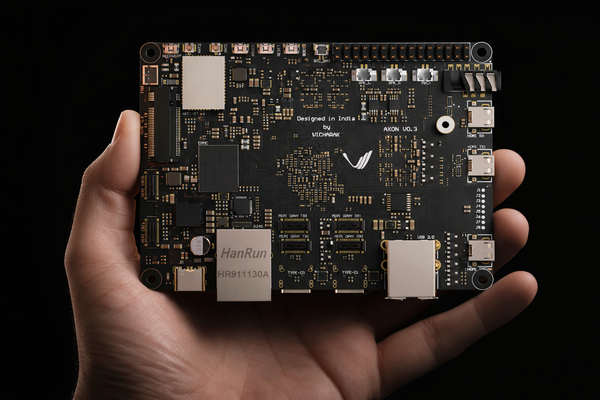
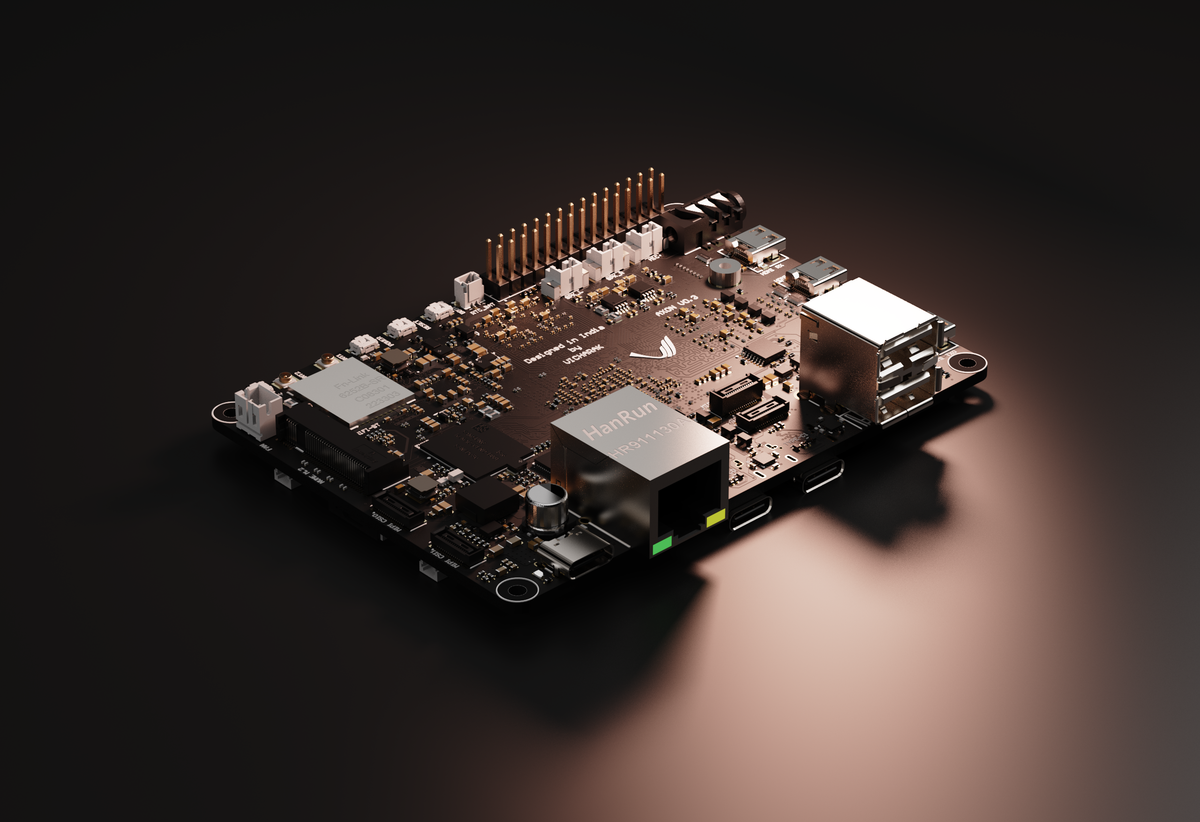
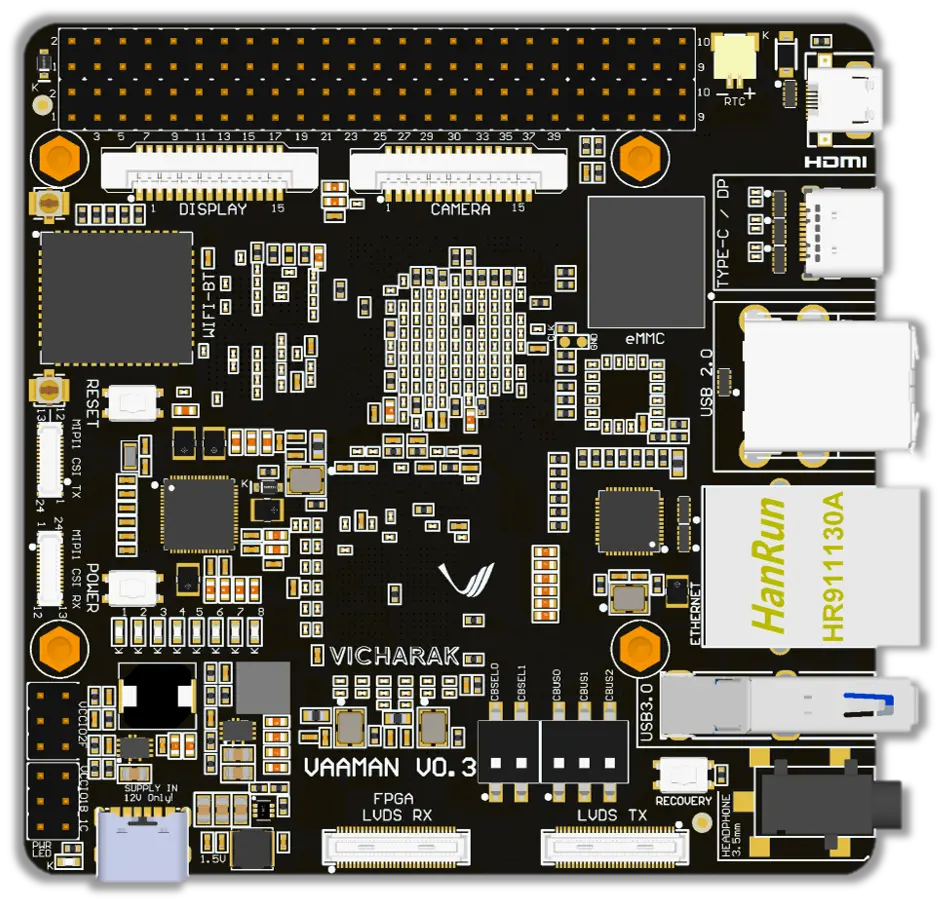
In this guide, we'll walk through deploying YOLOv8n and YOLO11n (small, fast, and surprisingly capable) on the Vicharak Axon board. The Axon runs a Rockchip RK3588 SoC with a 6 TOPS NPU, which makes it a compelling choice for real-time inference at the edge. But getting a PyTorch model to actually run on that NPU? That's where things get interesting.
Jump ahead if you must, the results section is worth coming back to!
Getting Started
Before we dive in, let's grab the complete toolkit:
git clone https://github.com/vicharak-in/Axon-NPU-Guide.git

cd Axon-NPU-Guide/examples/yolov8-11_model_conversion_n_deployment
This repository contains all the conversion scripts, inference code, and examples referenced throughout this guide.
Why YOLO on Edge Devices?
Object detection has come a long way. YOLO (You Only Look Once) revolutionized the field by making real-time detection practical. YOLOv8 from Ultralytics represents a mature, well-tested architecture, while YOLO11 brings the latest improvements with better accuracy and similar footprint.
But here's the thing: training a model is one part of the puzzle. Deploying it on resource-constrained hardware is a completely different challenge. Cloud inference is expensive and introduces latency. For applications like robotics, surveillance, or smart agriculture, you need the model running locally, ideally on dedicated AI accelerators.
The Conversion Journey: PyTorch > ONNX > RKNN
Let's be honest: model conversion pipelines are rarely straightforward. We spent considerable time figuring out the quirks, the version incompatibilities, and the "gotchas" that documentation never mentions. Here's what we learned.
Understanding the Pipeline
The general flow looks like this:
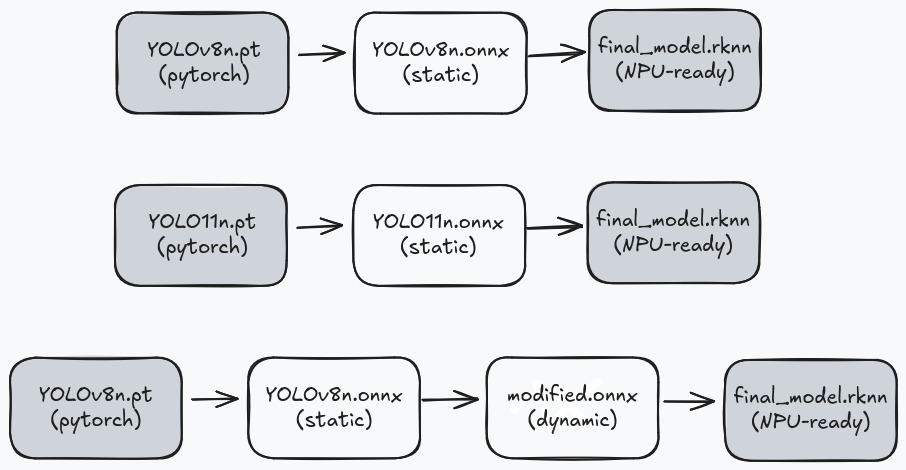
Seems simple enough, right? Export to ONNX, convert to RKNN, done. Except:
1. YOLO's default output includes DFL (Distribution Focal Loss) post-processing, which introduces additional reshape and softmax operations in the graph. We remove this post-processing from the model and handle it in our inference code instead, resulting in a leaner graph that runs more efficiently on the NPU and save you from compilation issues.
2. RKNN doesn't support true dynamic shapes, it uses "discrete dynamic inputs" where you pre-compile graphs for specific sizes. (And YOLO11n doesn't even support that. More on this later.)
Environment Setup
We use two separate virtual environments to avoid package conflicts. The RKNN Toolkit has dependencies that clash with the ONNX manipulation tools.
For setting up Environment 1: venv-onnx (for PyTorch & ONNX manipulation) please refer to this link.
We use "onnx-graphsurgeon==0.5.2" specifically because newer versions have changes that break compatibility with our node removal scripts.
And for setting up Environment 2: venv-rknn (for RKNN conversion) please refer to this link. To save you from doing all of this manually, we have also provided automation scripts that take care of the entire conversion pipeline for both YOLOv8n or YOLO11n. Refer to this link usage details.
Part 1: YOLOv8n Static Conversion
Let's start with the simplest case, a static YOLOv8n model with a fixed input size. This is great for getting started and debugging.
Step 1: Export to ONNX
source venv-onnx/bin/activate
yolo export model=yolov8n.pt format=onnx opset=19 dynamic=False
We use opset=19 because that's the highest version RKNN Toolkit 2.3.x supports. And dynamic=False because... well, we already covered that disaster.
This gives us yolov8n.onnx with a fixed input shape of [1, 3, 640, 640]
Step 2: Trimming the Fat
YOLOv8's ONNX export includes everything: convolutions, normalization, and a whole bunch of post-processing logic. The post-processing is great for convenience but terrible for NPU efficiency.
We wrote a script that surgically removes everything after the final convolutions, giving us: 3 bounding box feature maps and 3 class probability maps. To use:
python utils/removenodes.py yolov8n.onnx modified_yolov8n.onnx
Step 3: Convert to RKNN
Time to switch environments:
deactivate
source venv-rknn/bin/activate
python utils/onnx2rknn.py modified_yolov8n.onnx --graphsz 640,640
This produces "modified_yolov8n_dynamic_640x640.rknn" a single-shape model ready for the NPU.
With quantization (recommended for production):
python utils/onnx2rknn.py modified_yolov8n.onnx \
--graphsz 640,640 \
--quantize \
--dataset dataset.txt
INT8 quantization gives you roughly 50% smaller model and minimal accuracy loss.
Part 2: YOLO11n Static Conversion
YOLO11n follows a similar pattern, but with a key limitation: only single static shapes work reliably. The dynamic conversion step fails to produce valid multi-shape RKNN models.
Step 1: Export to ONNX
source venv-onnx/bin/activate
yolo export model=yolo11n.pt format=onnx opset=19 dynamic=False imgsz=1280
Step 2: Remove Post-Processing Nodes
YOLO11n has a slightly different architecture, so we use a dedicated script:
python utils/removenodes11n.py yolo11n.onnx modified_yolo11n.onnx
Step 3: Convert to RKNN (Single Shape Only)
deactivate
source venv-rknn/bin/activate
python utils/onnx2rknn.py modified_yolo11n.onnx --graphsz 640,640
Need multiple input sizes? Create separate RKNN files:
# 640x640 version
python utils/onnx2rknn.py modified_yolo11n.onnx modified_yolo11n_640x640.rknn --graphsz 640,640
# 1280x1280 version
python utils/onnx2rknn.py modified_yolo11n.onnx modified_yolo11n_1280x1280.rknn --graphsz 1280,1280
At runtime, load the appropriate RKNN model based on your required input size.
Part 3: YOLOv8n Multi-Shape Conversion
This is where YOLOv8n shines. We can compile a single RKNN file that supports multiple input resolutions – perfect for applications where image sizes vary or you want to trade off speed vs. accuracy dynamically.
Step 1: Export to ONNX
Same as before:
source venv-onnx/bin/activate
yolo export model=yolov8n.pt format=onnx opset=19 dynamic=False
Step 2: Cutting Out the Extra Baggage
python utils/removenodes.py yolov8n.onnx modified_yolov8n.onnx
Step 3: Convert to Dynamic ONNX
This is the extra step that enables multi-shape support:
python utils/static2dynamic.py --model modified_yolov8n.onnx --no-batch --hw
This produces modified_yolov8n_dynamic.onnx with input shape [1, 3, height, width] where height and width are symbolic—actual values determined at runtime.
Step 4: Convert to Multi-Shape RKNN
deactivate
source venv-rknn/bin/activate
python utils/onnx2rknn.py modified_yolov8n_dynamic.onnx \
--graphsz 320,320 480,480 640,640 \
--platform rk3588 \
--quantize \
--dataset dataset.txt```
A few things to note:
--graphsz: These are the input sizes the model will support. RKNN compiles a separate optimized graph for each. More sizes = larger file but more flexibility.--quantize: INT8 quantization. Highly recommended for production.--dataset: A text file with paths to calibration images. 40-100 diverse images from your target domain work best.
The output filename tells you what sizes are supported:modified_yolov8n_dynamic_dynamic_320x320-480x480-640x640.rknn
How Multi-Shape Works in RKNN
RKNN doesn't support true dynamic shapes like ONNX. Instead, it uses "discrete dynamic input"—you pre-define all input shapes at conversion time, and RKNN compiles a separate optimized graph for each:
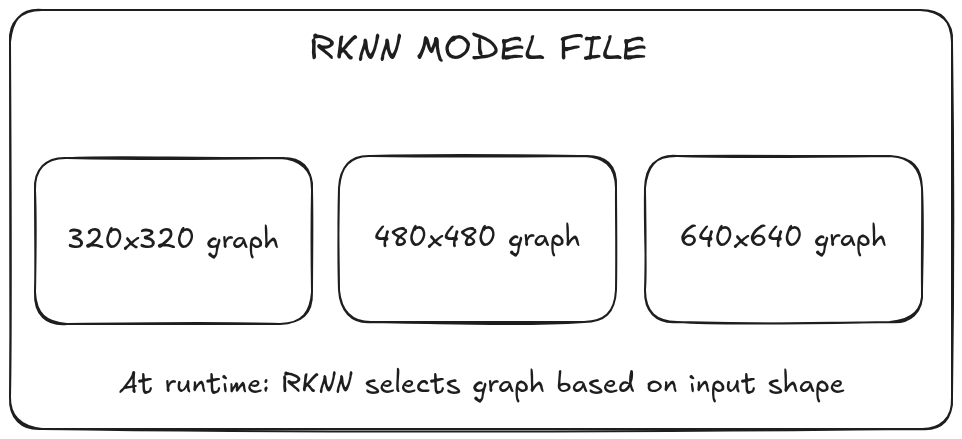
At runtime, you must use one of the predefined shapes. RKNN automatically selects the matching graph based on your input tensor dimensions.
Running Inference on the Axon
Now for the fun part – actually running the model on hardware.
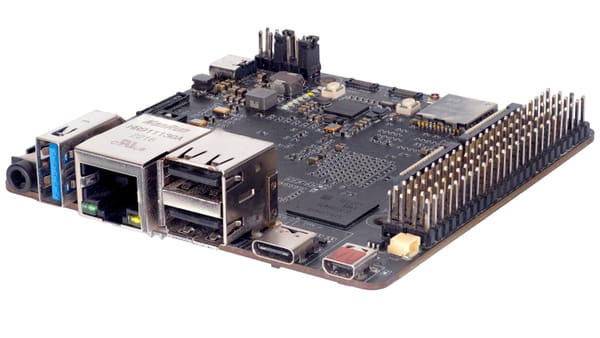
Setting Up the Axon Board
We’ll spare you the copy pasting marathon here.
Setting up the Axon with all required dependencies, libraries, and the RKNN runtime is documented in detail in our README, and we’ve also provided a ready-to-use setup script that takes care of everything for you.
Instead of walking through each command manually, we strongly recommend following the guide here linked above. Or, if you prefer the automated route, just run the setup script.
Both approaches will get your board ready for inference with the correct Python environment and RKNN runtime, so you can focus on running models instead of debugging installations.
Running Inference
Transfer your .rknn model and test images to the board, and you’re ready to run inference.
Use the following command format:
python rknn_inference.py --model <MODEL_PATH> --image <IMAGE_PATH> --size <H,W or SIZE> --imgname <OUTPUT_NAME> [--quantized]
For a complete list of options and advanced usage examples, refer to the detailed guide here.
Results: What to Expect
Below are some sample outputs generated using our converted YOLO models running on the Axon’s NPU.
We’ve intentionally included a mix of everyday images and challenging scenes to show how the model performs across different scenarios.
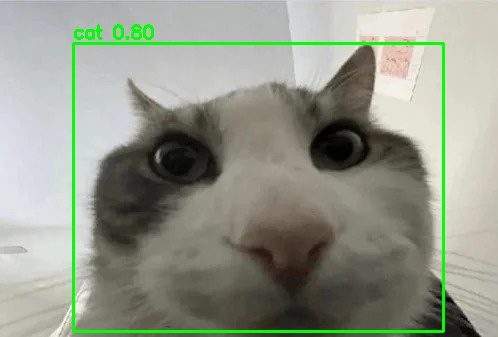
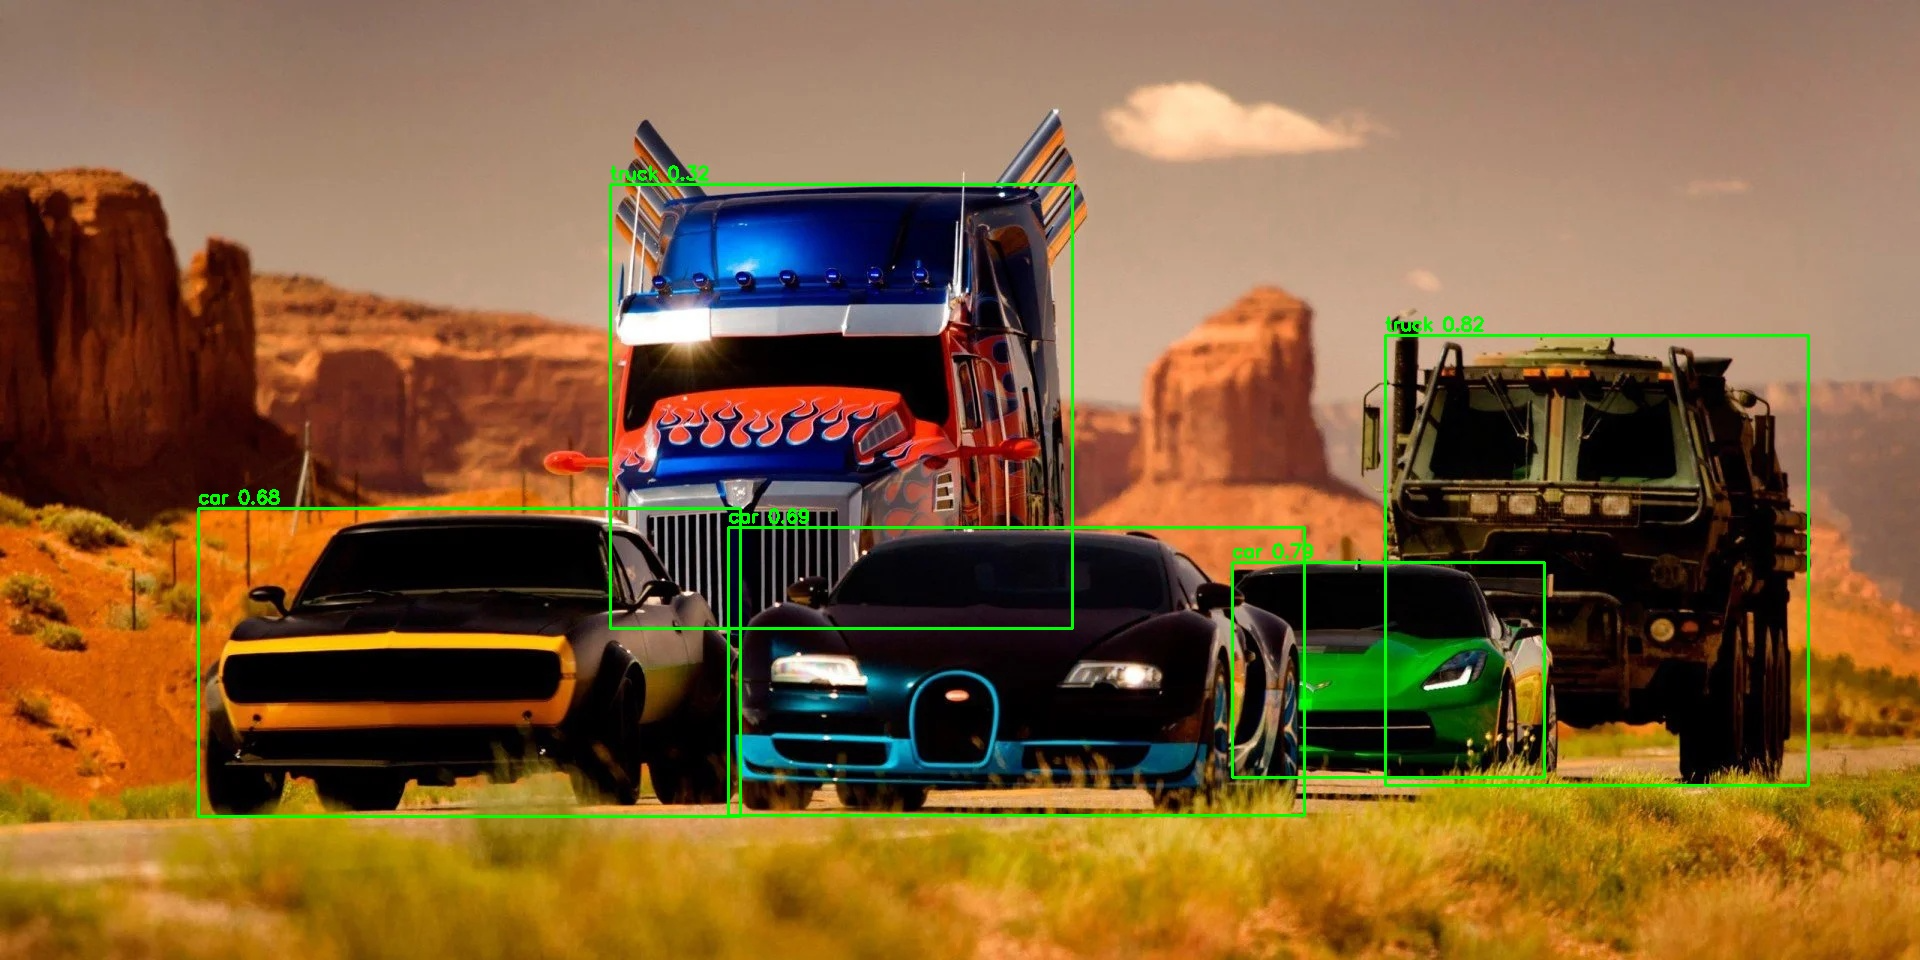
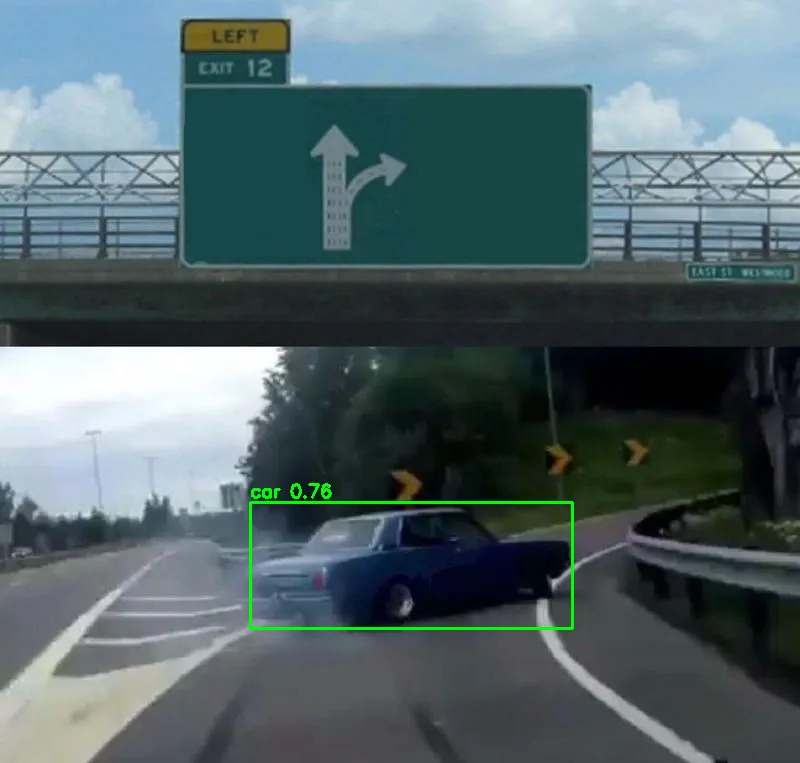
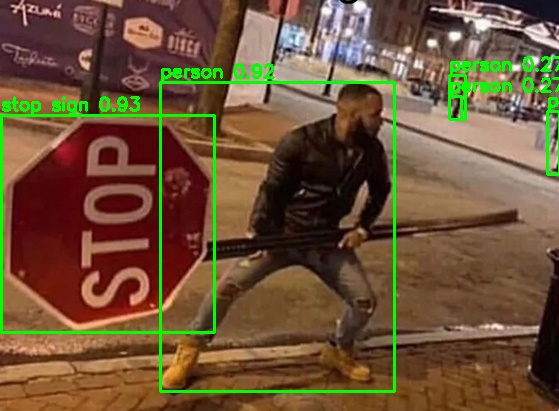
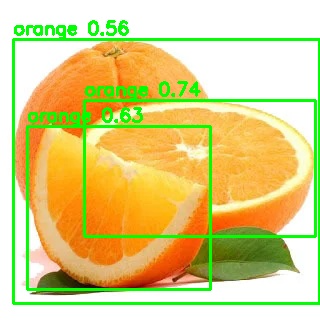
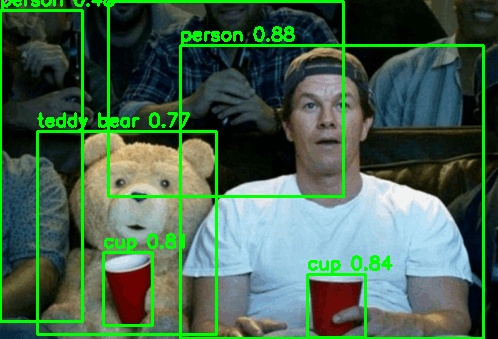
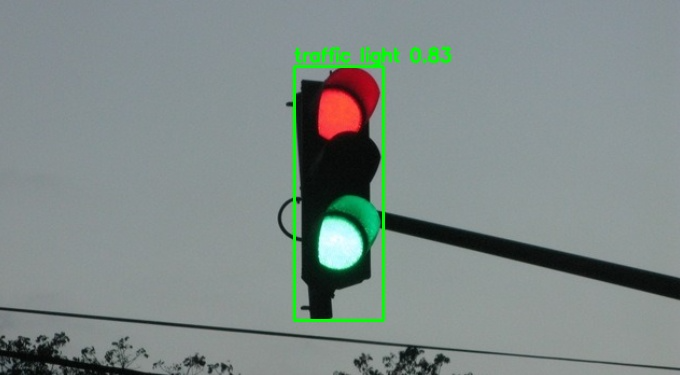
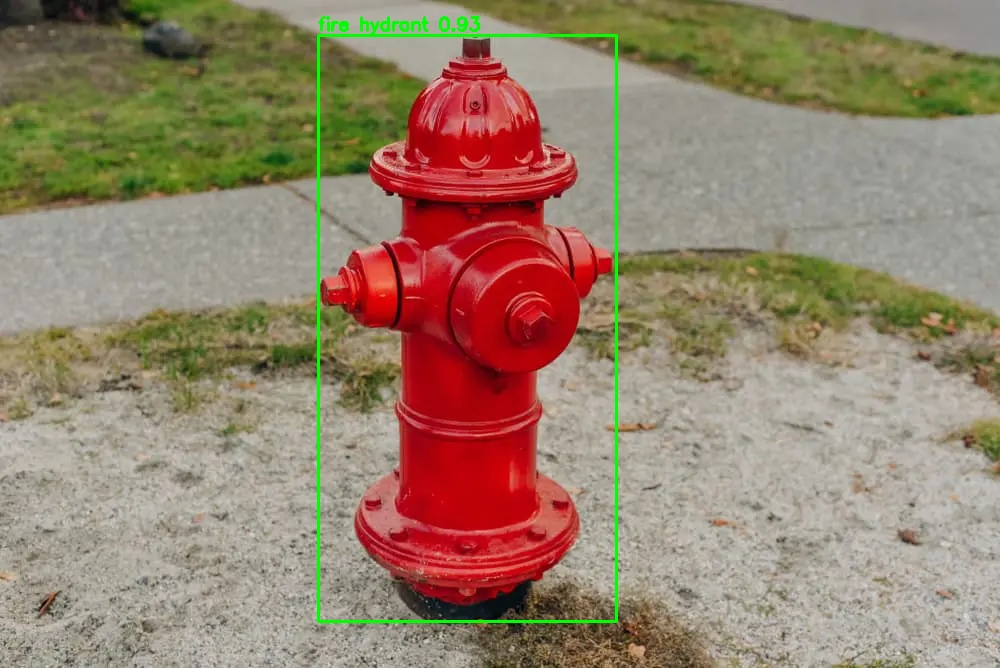
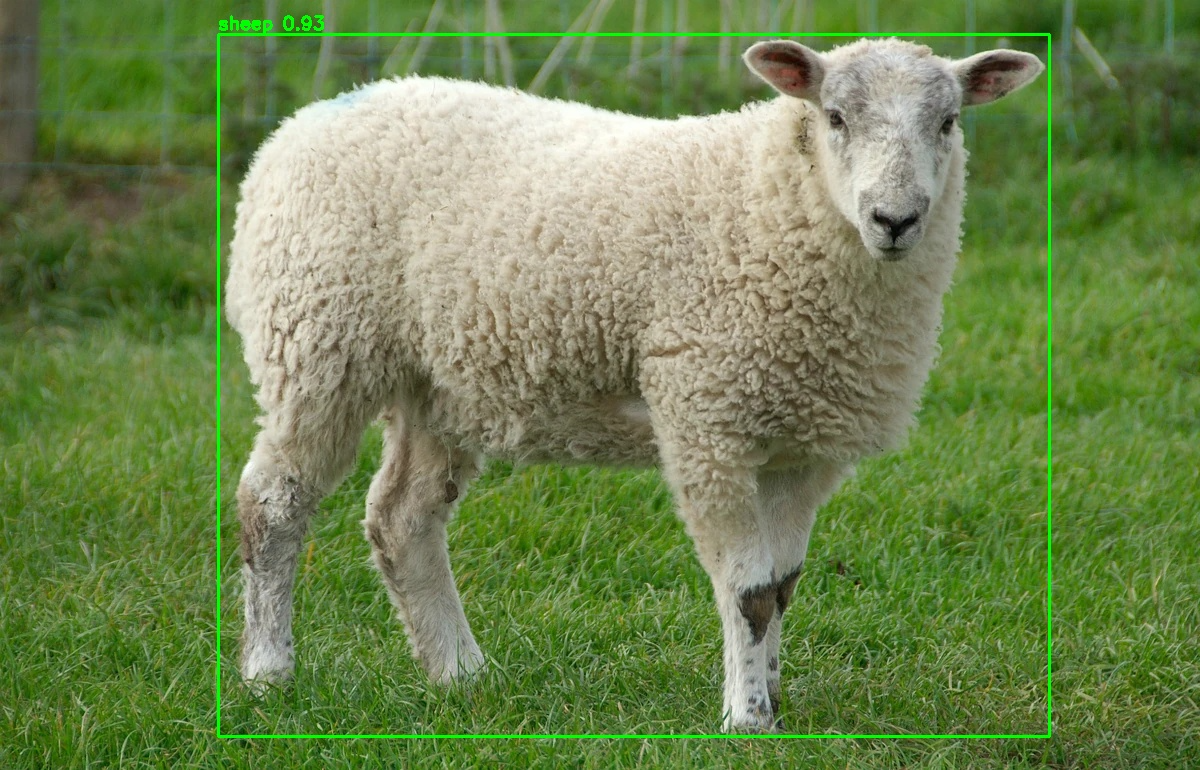
Inferenced images using the YOLO models on the Vicharak Axon Board
Tips from the Trenches
After wrestling with this pipeline for longer than we'd like to admit, here's what we wish we knew from the start:
Input dimensions must be divisible by 32.
YOLO's architecture downsamples 5 times (32x total). Use 320, 480, 640, 1280... not 300 or 720.
Quantization needs good calibration data.
Random images from the internet won't cut it. Use images from your actual deployment domain; lighting conditions, object types, distances, everything matters.
When in doubt, check the filename.
We embed supported sizes right in the RKNN filename.
Start with float models for debugging.
Quantization can mask issues. Get float inference working first, then add quantization.
YOLO11n = one shape per file.
Won't recommend wasting time trying to make multi-shape work for YOLO11n. Just create separate RKNN files for each size you need.
Dynamic exports from Ultralytics don't work well with RKNN Toolkit.
We tried. Multiple times. It produces models that either fail to convert or produce garbage outputs.
FAQs and Common Issues
Why no multi-shape for YOLO11n?
While the dynamic ONNX conversion works, RKNN Toolkit fails to reliably compile multi-shape models due to YOLO11n's architecture. We're stuck with one shape per RKNN file for now.
Why can't I use `dynamic=True` when exporting from Ultralytics?
Ultralytics' dynamic export produces ONNX models with shape patterns that RKNN Toolkit can't handle properly. The conversion fails outright. Our workaround? export static, then convert to dynamic with our script, produces reliable results.
Why does YOLO11n not support multi-shape RKNN conversion?
While the "static2dynamic.py" script successfully converts YOLO11n models to dynamic ONNX, the RKNN toolkit encounters issues when compiling multi-shape models from these files. This appears to be related to architectural differences in YOLO11n, mainly in the attention layer. For now, create separate RKNN files for each input size you need.
Can I use rectangular (non-square) input shapes?
Yes! Both dimensions just need to be divisible by 32. Use "--graphsz 480,640" for a 480×640 input.
How many shapes can I compile into one RKNN file?
Technically, as many as you want, but each shape adds to the file size and compilation time. We typically use 3-4 shapes covering common use cases (e.g., 320×320 for speed, 640×640 for quality, 1280×1280 for high-res).
What Python versions are supported?
Python 3.8 through 3.12 work with RKNN Toolkit 2.3.x. Check the wheel filenames in the toolkit repository for available versions.
Can I run both YOLOv8n and YOLO11n on the same Axon board?
Absolutely. Just load the appropriate RKNN model file at runtime. The inference code is the same for both.
"ONNX opset version not supported"
Solution: Re-export with lower opset version:
yolo export model=yolov8n.pt format=onnx opset=19 dynamic=False
"No module named 'onnx_graphsurgeon'" or float value errors
Solution: Install the correct version:
pip install onnx-graphsurgeon==0.5.2
Resources
Everything you need to get started:
Have questions? Hit us up on Discord. We'd love to see what you build with this.